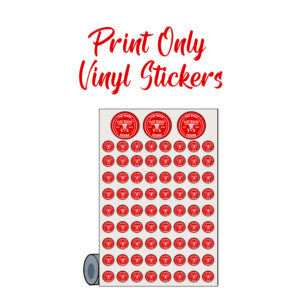
Description
You design, we print.
Laminated
Gloss or Matte
Here’s a ten-step process for installing print wrap material:
Step 1: Gather the necessary tools and materials Collect all the tools and materials needed for the installation, including the print wrap material, squeegee, heat gun, utility knife, measuring tape, and cleaning solution.
Step 2: Prepare the surface Ensure that the surface where you’ll be applying the print wrap material is clean and free from any dust, dirt, or grease. Use a cleaning solution and a lint-free cloth to thoroughly clean the surface.
Step 3: Measure and cut the print wrap material Measure the dimensions of the surface you’ll be covering with the print wrap material. Add a few extra inches to each side for trimming. Using a utility knife, cut the print wrap material to the appropriate size.
Step 4: Position the print wrap material Carefully position the print wrap material over the surface, making sure it aligns correctly and covers the entire area. Leave some excess material around the edges for easier manipulation.
Step 5: Remove the backing Slowly peel away the backing of the print wrap material, exposing the adhesive side. Be cautious not to stretch or distort the material during this process.
Step 6: Apply the print wrap material Starting from one side, gently press the exposed adhesive side of the print wrap material onto the surface. Gradually work your way across the material, using a squeegee to eliminate air bubbles and ensure proper adhesion.
Step 7: Trim the excess material Once the print wrap material is fully applied, use a sharp utility knife to trim away the excess material along the edges. Take your time and make precise cuts for a clean and professional finish.
Step 8: Smooth out the surface Use the squeegee to smooth out the print wrap material and ensure it adheres evenly to the surface. Apply even pressure while moving the squeegee in overlapping strokes.
Step 9: Heat and stretch (if required) If the print wrap material is a stretchable type, use a heat gun to warm the material slightly. This will make it more pliable and easier to stretch and conform around curves or contours. Be careful not to overheat or damage the material.
Step 10: Final touch-ups Inspect the installed print wrap material for any imperfections or air bubbles. If necessary, use the heat gun and squeegee to smooth out any remaining bubbles or wrinkles. Pay extra attention to corners and edges.
Congratulations! You have successfully installed the print wrap material. Remember to clean up your work area and properly dispose of any waste material.